February 2013
4-33
ColorQube® 9303 Family
REP 3.8, REP 3.9
Repairs/Adjustments
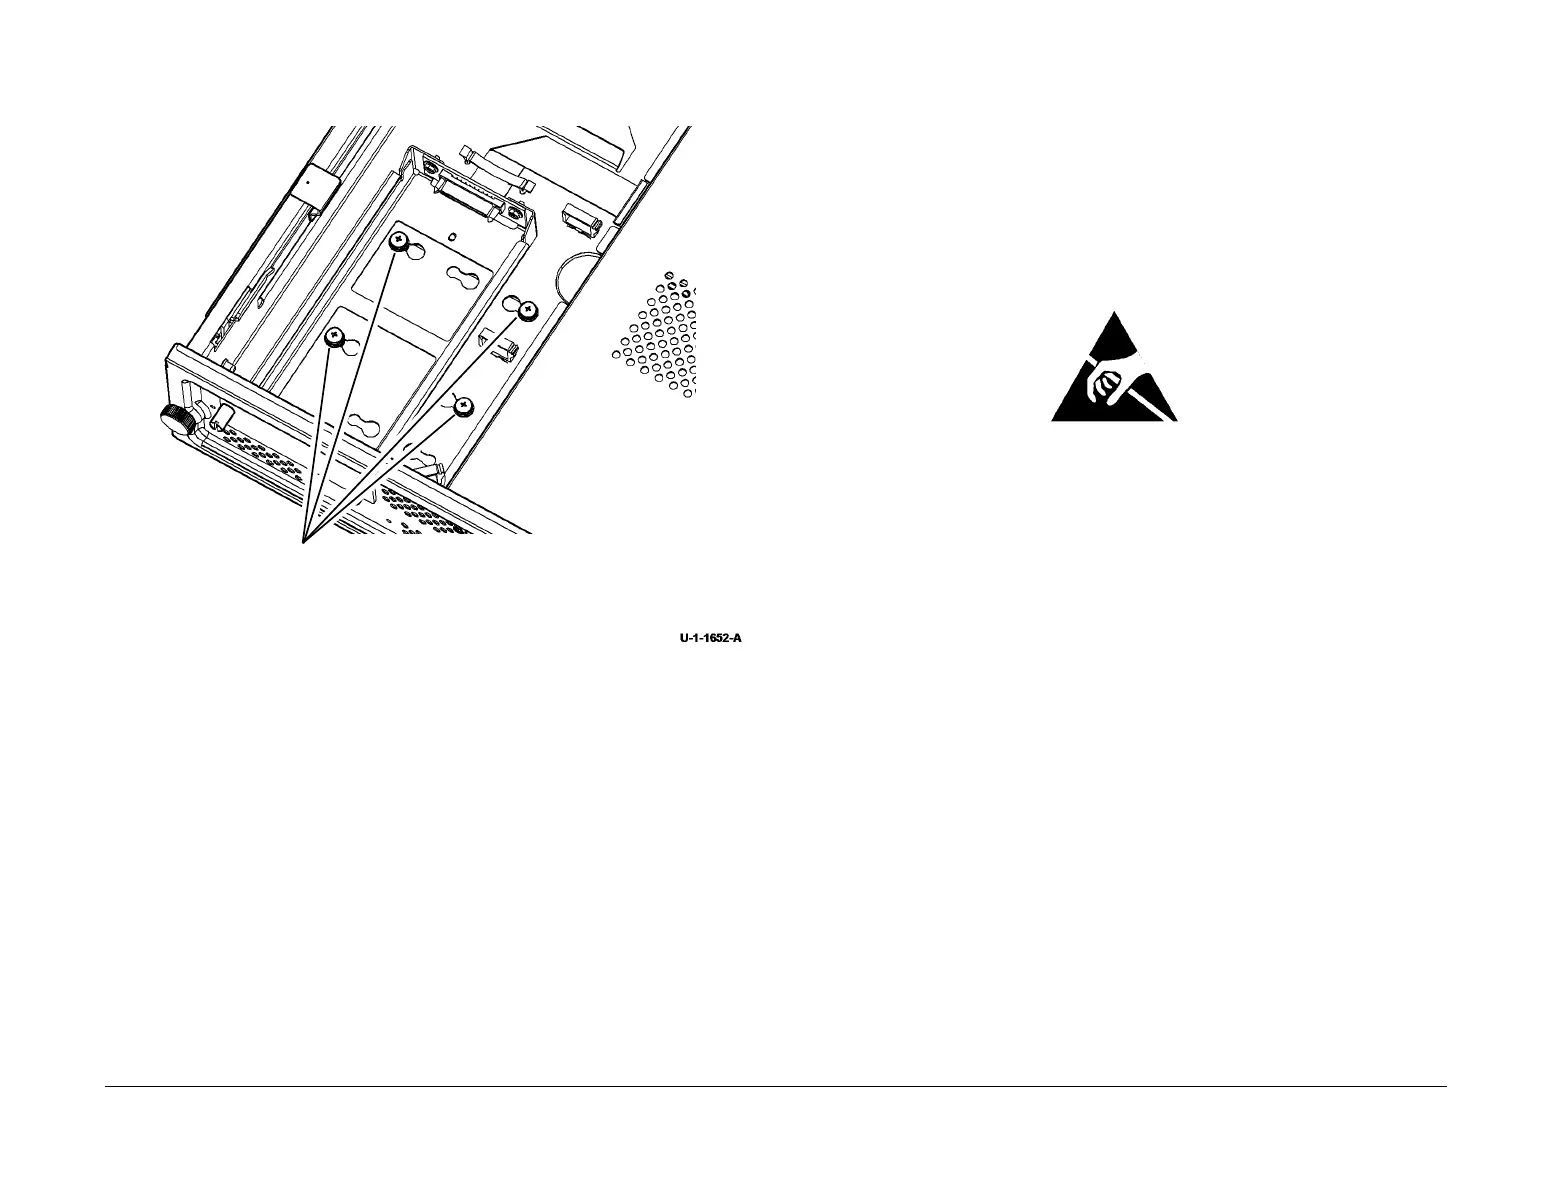
5. Remove the hard disk drive, Figure 2.
Figure 2 Remove Hard Disk Drive
Replacement
1. Replacement is the reverse of the removal procedure.
2. Ensure that the bracket locates into the slots on the drawer
3. When the install is complete perform an AltBoot, GP 4.
NOTE: If a new hard drive is installed then the software will need to be reloaded.
4. If any optional features were enabled, re-enter the keys for the optional features. Refer to
GP 48 How to Re-Enter Optional Feature Installation Keys.
REP 3.9 NVM Module PWB and Battery
Parts List on PL 3.11
Removal
WARNING
Switch off the electricity to the machine. Refer to GP 14. Disconnect the power cord
from the customer supply while performing tasks that do not need electricity. Electricity
can cause death or injury. Moving parts can cause injury.
WARNING
Take care during this procedure. Sharp edges may be present that can cause injury.
Figure 1 ESD Symbol
CAUTION
Ensure that ESD procedures are observed during the removal and installation of the NVM
module PWB.
The NVM module PWB contains the local machine settings. These are retained using battery
backed memory.
This module is extremely reliable and should only be changed as a last resort when all other
possibilities have been ruled out.
Do not replace the module before the machine has completed the install wizard.
NOTE: All customer settings, machine configuration settings, customer copy count, usage and
fault counters will be lost. Inform back office and follow the local process.
1. To prevent the deletion of the soft machine settings, perform an NVM save from service
mode on the UI using dC361 NVM Save and Restore.
2. Pull out the image processing module.
3. Remove the harness guide plate, PL 3.11 Item 24.
4. Remove the PWB Cover, PL 3.11 Item 11.
5. Remove the NVM module PWB, PL 3.11 Item 17.
6. If necessary, remove the battery, PL 3.11 Item 18 from the NVM module PWB.
1
Remove 4 screws.
2
Remove the hard disk drive.
 Loading...


