February 2013
6-81
ColorQube® 9303 Family
GP 27, GP 28
General Procedures/Information
Figure 1 IOD Assembly
Cleaning Unit and Abatement Plenum
Materials:
• Cleaning cloth, PL 26.10 Item 6.
• Cleaning fluid, PL 26.10 Item 1.
Procedure
1. Remove the cleaning unit, refer to REP 94.1. Wipe the top and bottom surfaces with a
clean, dry cloth. Place the cleaning unit on several sheets of paper on a level surface.
Remove any paper debris from the metering blade.
2. Remove the abatement plenum, REP 91.36. Clean the top surfaces with a clean, dry
cloth.
3. Reinstall the abatement plenum and then the cleaning unit.
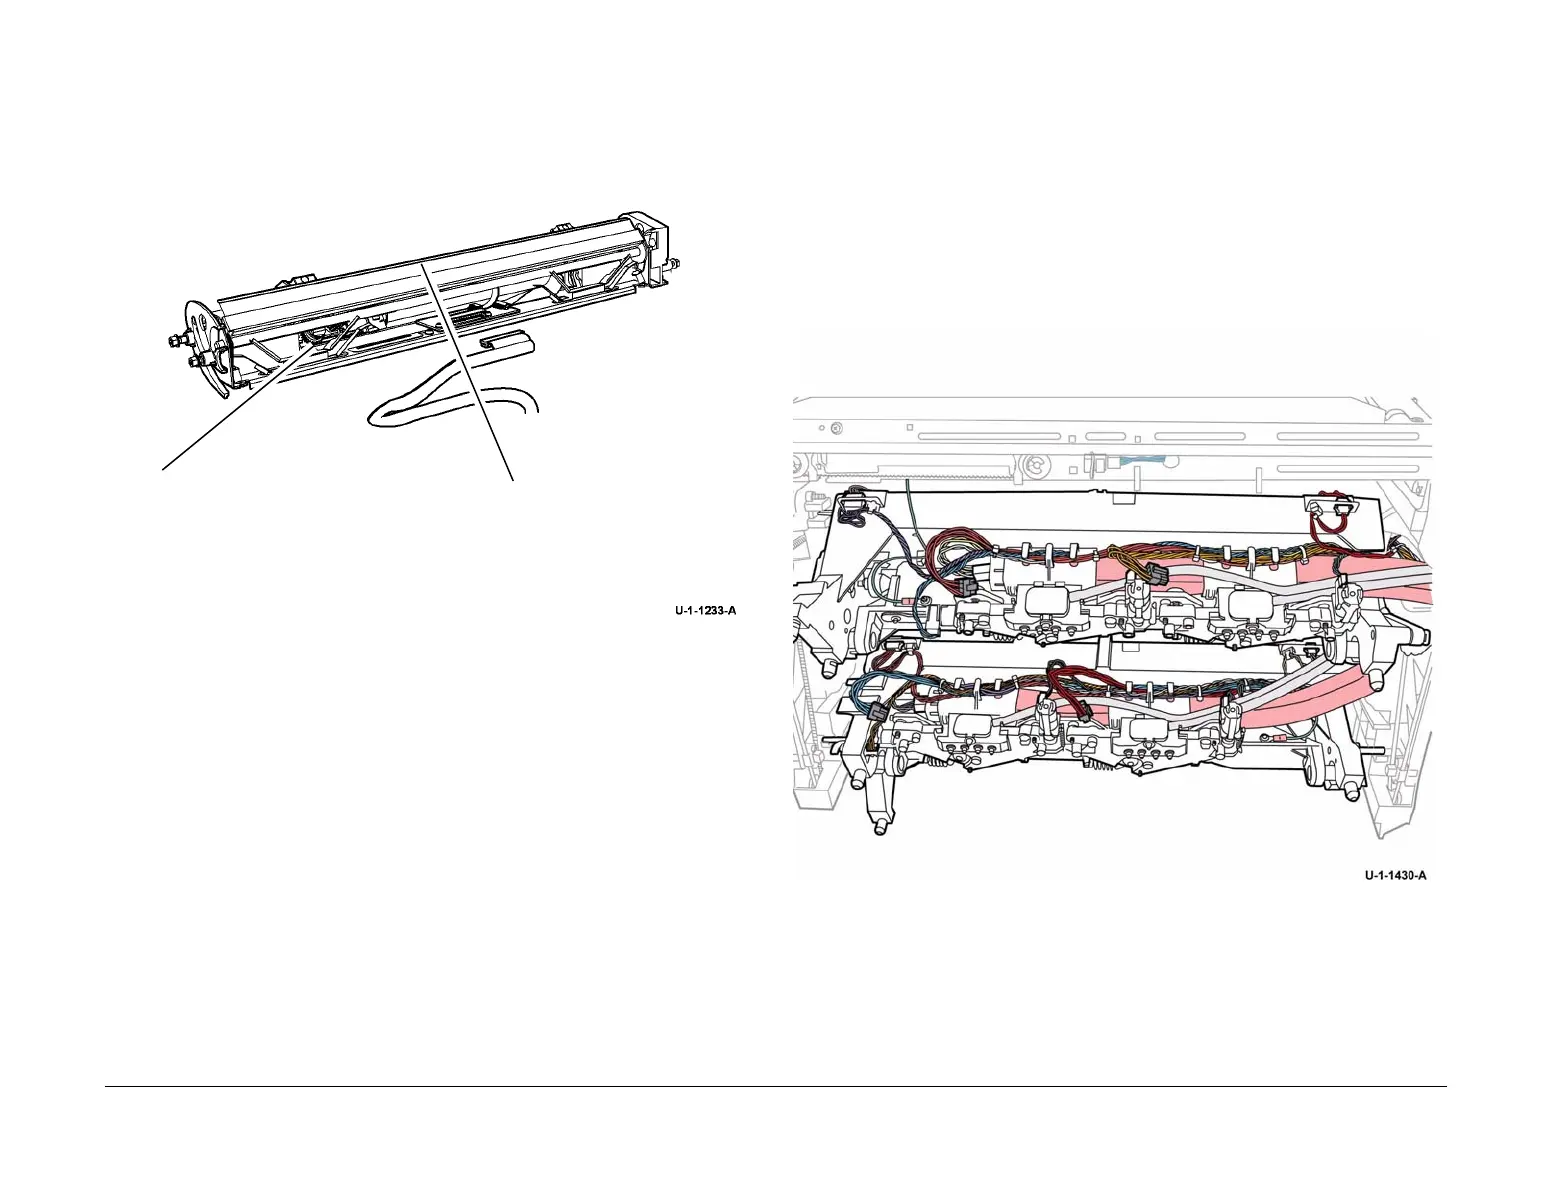
GP 28 Marking Unit Assembly Wiring Harnesses
Purpose
To show the correct routing of the marking unit wiring harnesses.
Wire Routing
Figure 1 shows the correct harness routing along the upper and lower carriages. Figure 2
shows the correct harness routing at the rear of the marking unit. Ensure the harnesses are
secured by the harness clamps. To move the marking unit into the service position, go to GP 6.
NOTE: For clarity, the printheads are not shown in Figure 1. The marking unit is shown in the
service position in Figure 2.
Figure 1 Harness routing
1
Rotate the motor gears to open the
cover shield and reveal the sensor.
2
Clean the cover shield and the
sensor.
 Loading...


