February 2013
4-41
ColorQube® 9303 Family
REP 5.5
Repairs/Adjustments
REP 5.5 Baffle Assembly
Parts List on PL 5.30
Removal
WARNING
Switch off the electricity to the machine. Refer to GP 14. Disconnect the power cord
from the customer supply while performing tasks that do not need electricity. Electricity
can cause death or injury. Moving parts can cause injury.
WARNING
Take care during this procedure. Sharp edges may be present that can cause injury.
1. Remove the DADH, REP 5.19.
2. Remove the top access cover assembly, REP 5.2.
3. Remove the feed assembly, REP 5.3.
4. Remove the input tray assembly, REP 5.4.
5. Remove the CVT roll, REP 5.15.
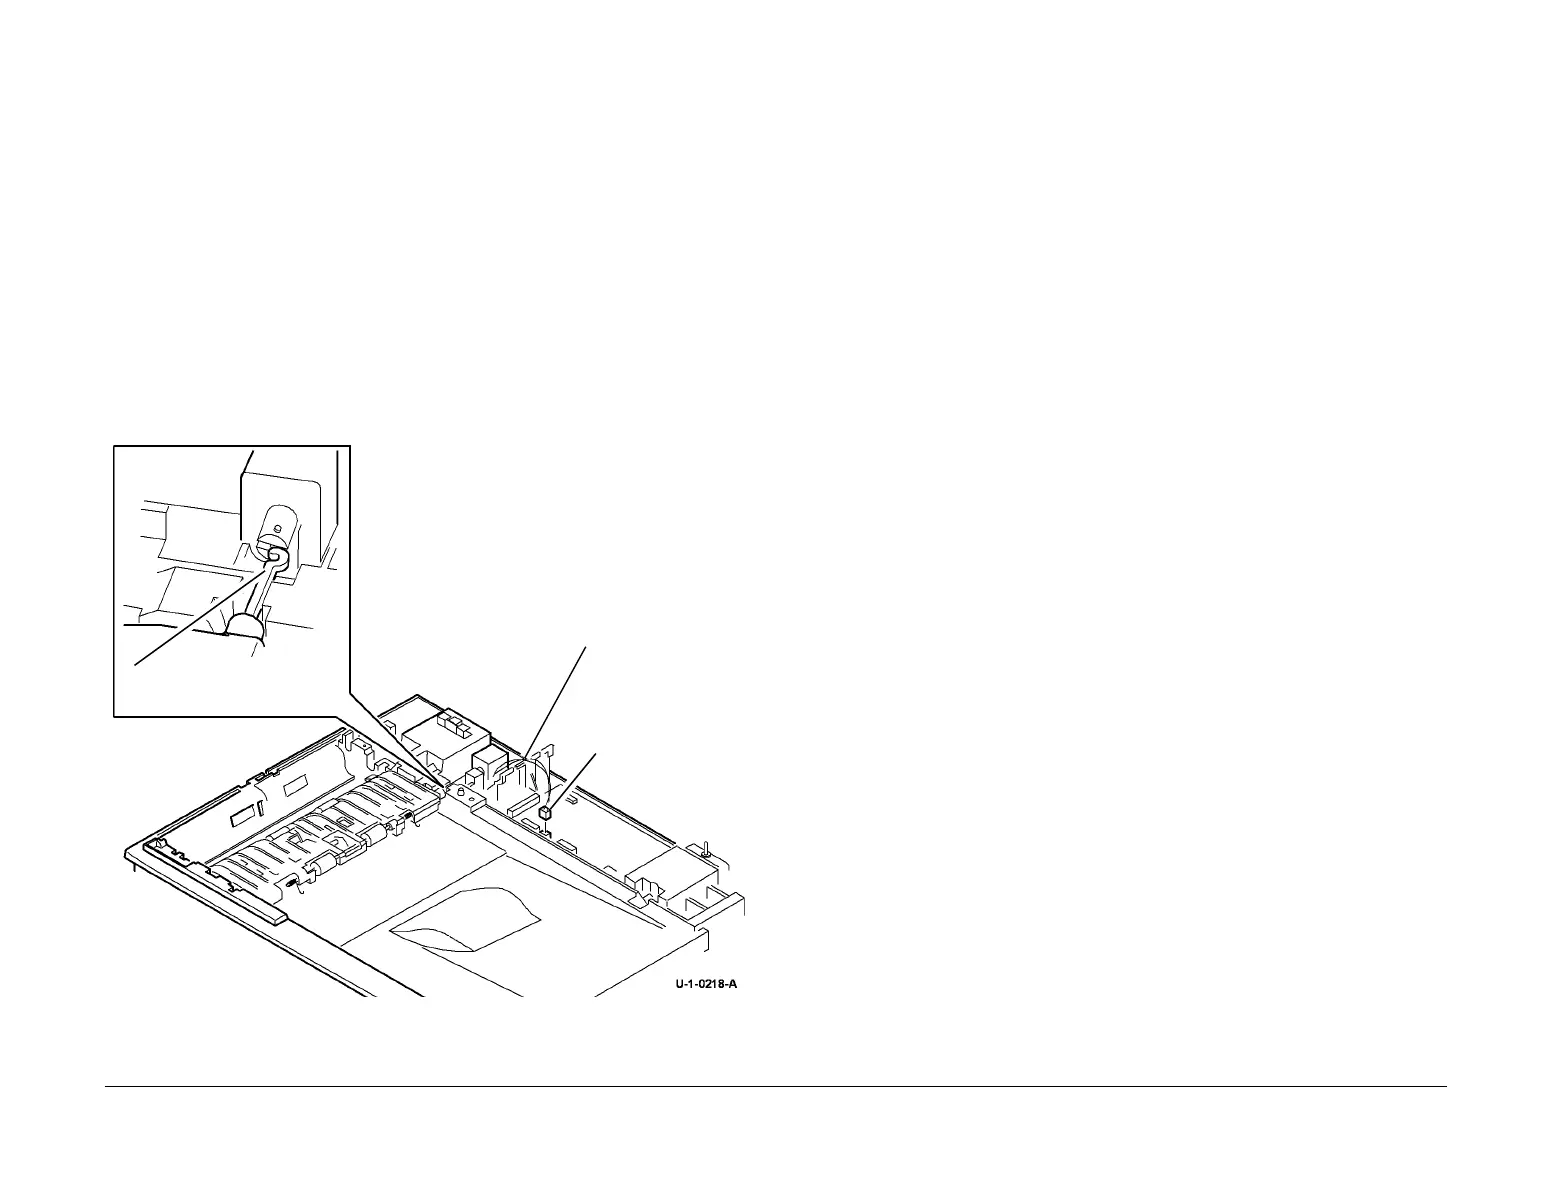
6. Prepare to remove the baffle assembly, Figure 1.
Figure 1 Preparation
CAUTION
When the top access cover assembly, feed assembly, input tray assembly and CVT roll are
removed the DADH structure is weak. Do not lower the DADH in this configuration.
7. Carefully install the DADH frame on the machine. Secure the DADH with the two thumb-
screws.
CAUTION
Be careful to prevent damage to the document pad when the document pad is removed from
the baffle assembly.
8. Move the baffle assembly lower cover to give access, Figure 2.
1
Disconnect the link arm.
3
Disconnect PJ189.
2
Release the harness
 Loading...


