February 2013
3-68
ColorQube® 9303 Family
IQ 20
Image Quality
IQ 20 Wavy or Stringy Lines RAP
Use this RAP to fix images that have wavy or stringy lines of ink, or have a blistered appear-
ance.
• Obstruction of the carriage drive causes lines of ink to be deposited on the drum, Figure
1. When this ink gets transfixed onto the media, it will have an embossed texture and
appears wavy. This defect is usually found on individual carriages.
• Excessive oil on the drum can result in a similar artifact with ink having a raised or blis-
tered appearance where the ink can be rubbed off. Refer to IQ 26.
NOTE: Another defect (not shown on the illustration) may occur on a single printhead where a
ribbon cable has become unseated. This defect can look like a muddy strip with the stringy
lines along one or both edges of the defect.
Ensure IQ 1 Image Quality Entry RAP is performed before starting this RAP.
CAUTION
If carriage motion is obstructed to the point of producing stringy lines of ink, it is likely strings of
ink are scattered throughout the machine’s interior. Check the area surrounding the drum pay
-
ing particular attention to the abatement plenum, IOD sensor, transfix roller, and exit module.
Printhead jetting may also be affected.
Procedure
WARNING
Ensure that the electricity to the machine is switched off while performing tasks that do
not need electricity. Refer to GP 14. Disconnect the power cord. Electricity can cause
death or injury. Moving parts can cause injury.
The defect is across the entire width (inboard to outboard) of the image.
YN
Check that the printhead ribbon cables are correctly seated. The ribbon cables are
seated correctly.
YN
Reseat the ribbon cables.
Go to IQ 13 All Colours Uneven RAP. Perform the X-Axis Checkout.
Remove the cleaning unit. Inspect the cleaning unit metering blade for pieces of paper.
NOTE: Ink pixel build up on the metering blade is normal and should not be cleaned off.
The metering blade is good.
YN
Remove the paper pieces from the cleaning unit metering blade.
Go to dC959 Cleaning Unit Exerciser. Print TP 20 Oil Bar Chase and Metering Blade Timing
Test Pages. Evaluate the metering blade timing test page only. If the metering blade engages
and disengages within the tolerance zones, the cleaning unit and cleaning unit drive train are
working correctly. The metering blade engages and disengages inside of the tolerance
zones.
YN
Go to 94-522-00 Cleaning Unit Motor Stall RAP.
Perform dC959 Cleaning Unit Exerciser and run the slow speed exerciser. The slow speed
exerciser completes successfully.
YN
Go to 94-522-00 Cleaning Unit Motor Stall RAP.
Open the front door and remove the inner cover. Enter dC959, Cleaning Unit Exerciser, and
run the slow speed exerciser. While this is running ensure the cleaning unit metering blade and
roller are making contact with the drum.
The metering blade and roller are making contact
with the drum.
YN
Check the cleaning unit cams mechanism PL 94.10 Item 9, PL 94.10 Item 13 and the
cleaning unit drive gear and motor PL 94.10 Item 23, PL 94.10 Item 24. Install new parts
as necessary.
Re-define the image quality defect, refer to IQ 1 Image Quality Entry RAP.
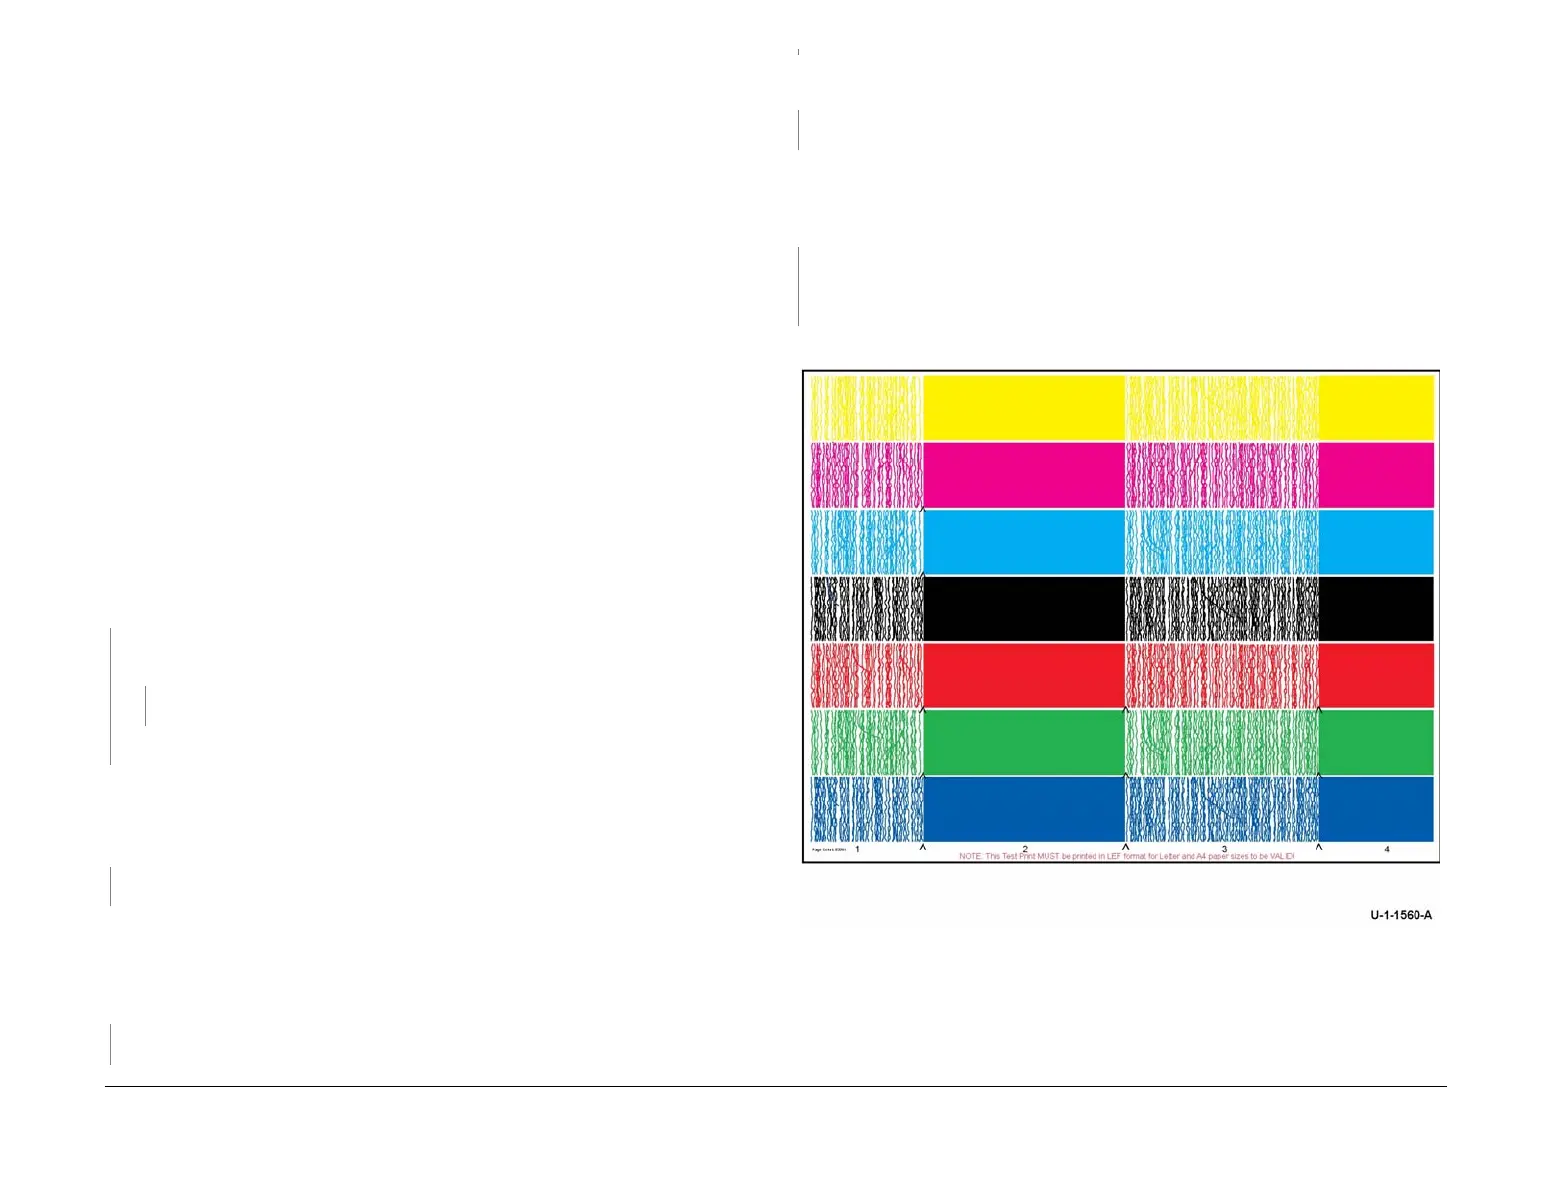
Figure 1 Wavy or stringy lines defect
A
A
 Loading...


